
April 2013
I had to continue cutting out the rest of the front suspension, cut some more out of the engine bay for clearance with the upper A-arm movement (which is how the caster and camber are aligned in. I did some more welding to clean up and strengthen the welds. Finally today, I got a chance to get the bulk of the suspension on and the car is back on the ground again!
In order to get the springs compressed, I had to buy a spring compressor (the ones I rented from O'Reilly and Autozone were so banged up I couldn't get them to work!). I tried to compress the springs with both sets of arms, but the angle on the spring hat (picture above) prevented me from inserting the springs into their area without all kinds of obstructions. So I took the upper set of arms off, and ran the screw down through the spring hat, and pulled the bottom of the spring up to compress it.
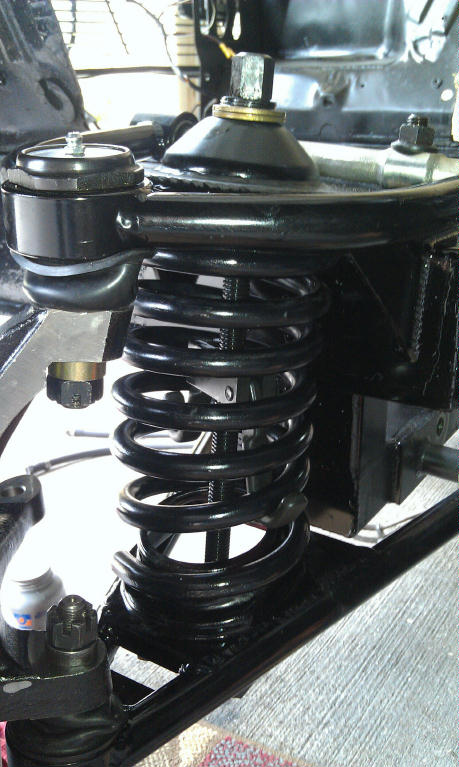
Once I was able to compress the spring enough for the spindle to fit, I bolted up the spindles, put the brakes on, put on the front tires, and let the car down off the jackstands. This kept the spring from over-extending the A-arm travel so it would uncompress enough that I couldn't get the shock in. Found out after the fact that with the car on the ground without the engine in, it all still sits uncompressed too much to put the shocks in, so I will have to wait until I get the engine in.
Next I installed the swaybar, then centered the steering rack, aligned the toe using a tape measure to get it close, and ran up my connecting rods.

I am still afraid that with the engine it, it will ride too high, and depending on how high, I may have to cut an inch or so off the springs, or buy 2" drop spindles. Or maybe a combination of the two. Rod and Custom asked me what size engine I was running, did it have A/C, any aluminum components, and they chose the springs for me based on my answers.
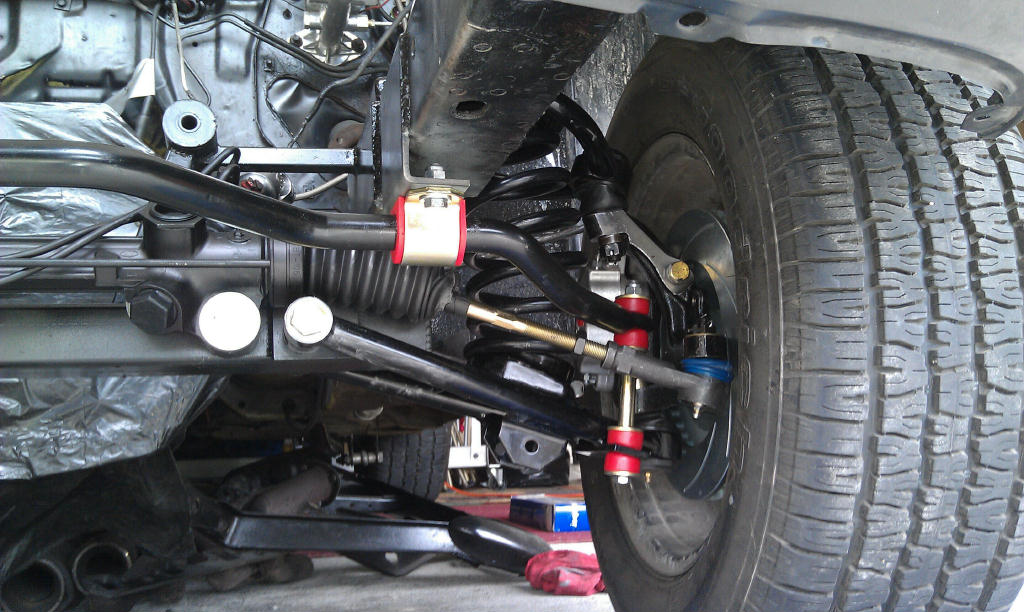
Here is a shot of what all is going on at each wheel in this setup.
Next time I get a chance to work on it, I have to pull the steering column and modify it to connect to the rack through a series of two u-joints. Then engine back in, and re-wire and re-plumb everything.
For cost adjustments, I will estimate that I paid full price for the Rod and Custom Kit, and disregard the parts I sold off and the extra parts I had to buy to make the portion of the kit work, and the cost of welding, etc. I figure it will all average out in the end.
The kit is called RC-106 and is priced at $2600. I did not pay that much because I got most of the part from various people secondhand. But I had to order many other parts from R&C to complete the job, and paid for shipping each time. Then I had to pay for welding, etc. I probably really got this for closer to $2200 after you take in the money from parts I sold once I cut the old stuff off.
5/20/13--going into May on this one, and for now, pretty much come to a halt because it is too hot and humid to tolerate working out there.
I need to cut the springs down until those lower tubular bars (A-arms) are perfectly horizontal with the engine and transmission installed. I have the engine and transmission reinstalled, but still setting WAY too high.
So, I get the engine in, install the nitrous plate, and put the air filter on it and guess what...
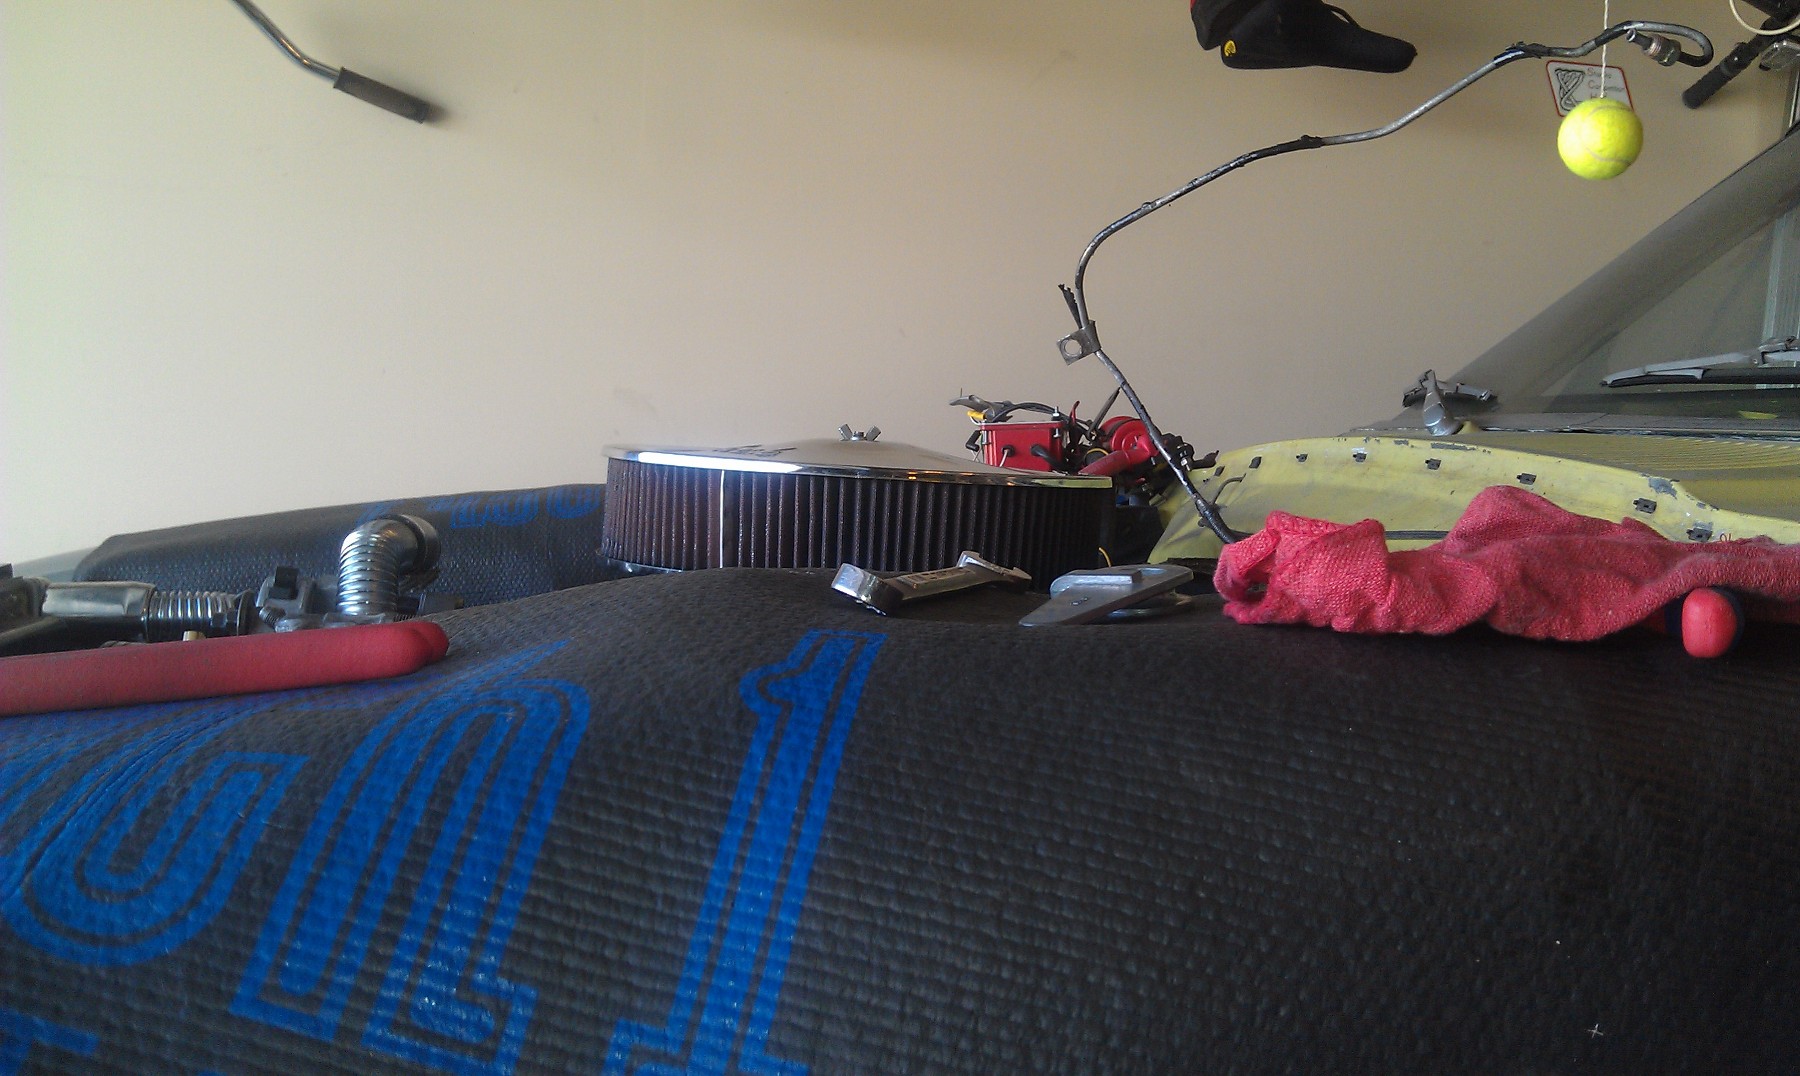
That sits WAY too high. And I just bought, and never used, that K&N air filter. So I have to find something that sits lower. At this point, I figure a cold air induction won't hurt a damned thing, so we go to this...

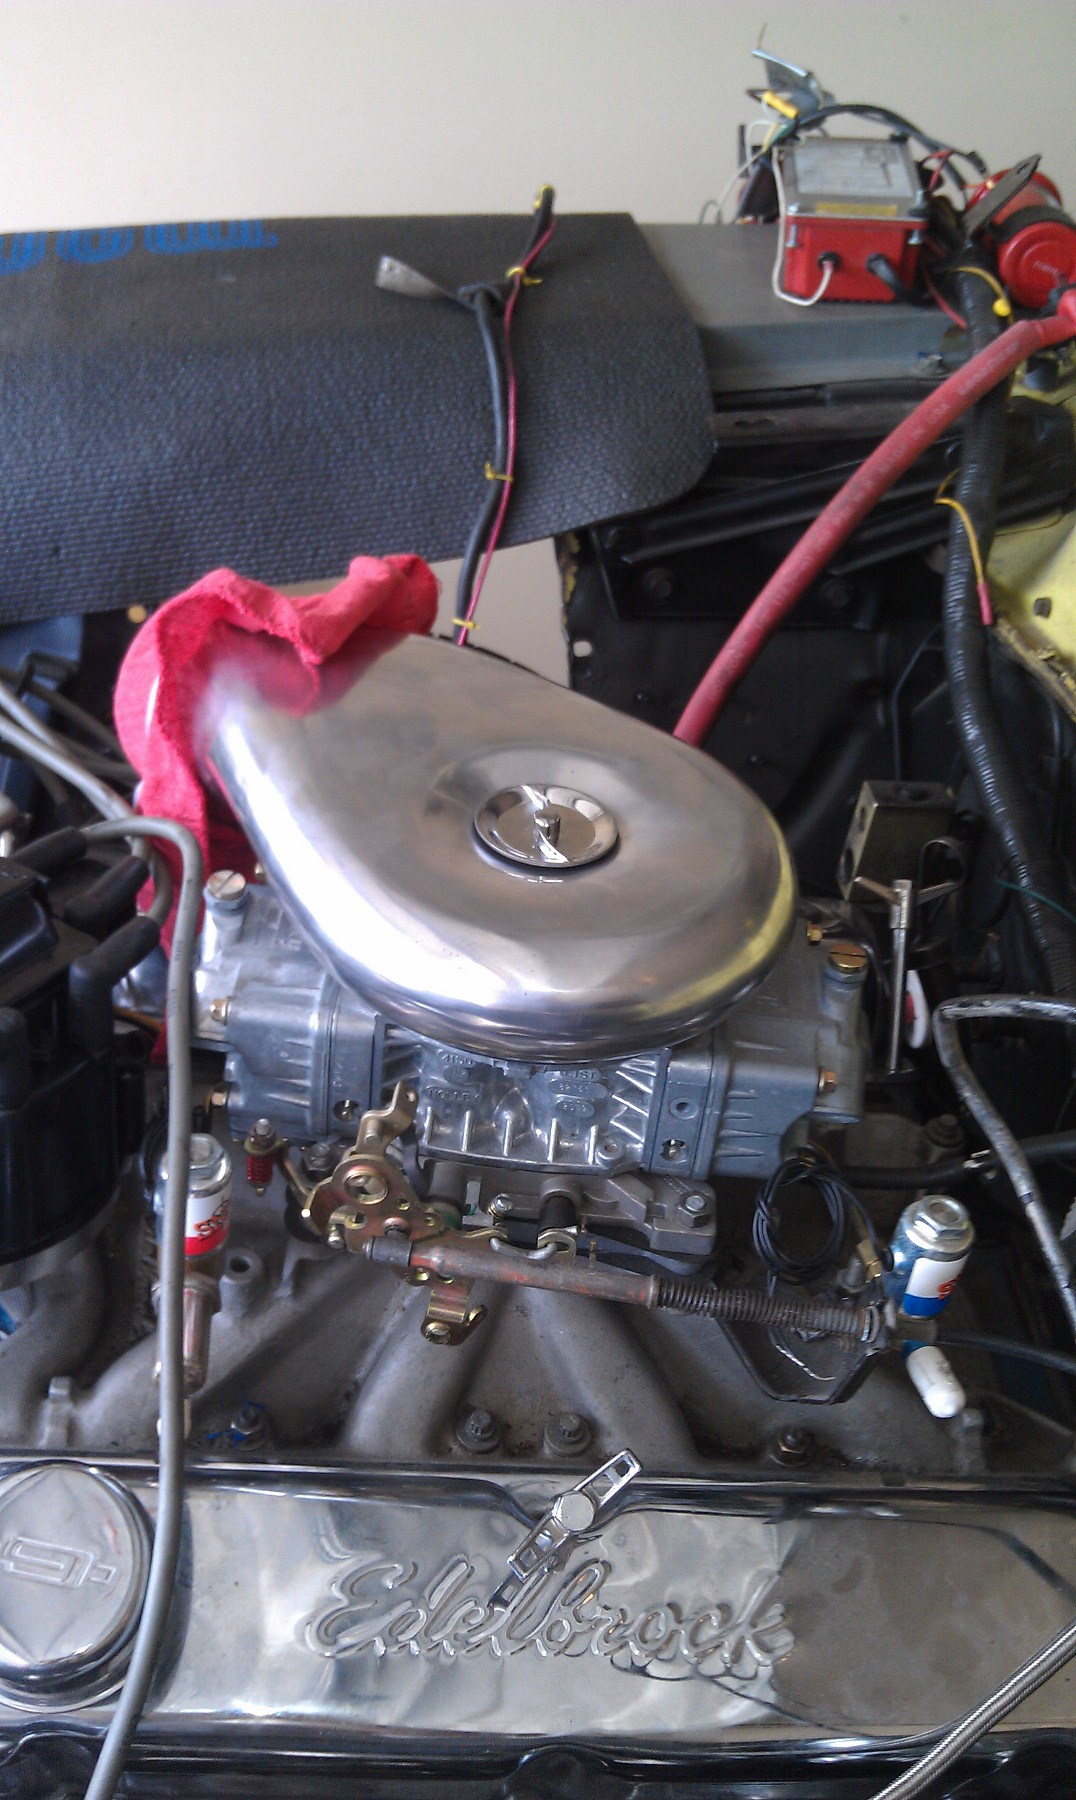
...which does THIS for me...

I have cut the top off the bolt, and added this flat nut and ready to run a low profile air cleaner AND my nitrous kit!!!
Still need to hook up the fuel line, transmission cooler lines, and front brake lines, before I start the engine up.
Total (rounded) = 10,500
Oil Change 59,800 miles
Transmission change 59,800